The Ultimate Guide to Teaching Kids the Basics of Freehand Drawing
Table of Contents
The Ultimate Guide to Teaching Kids the Basics of Freehand Drawing
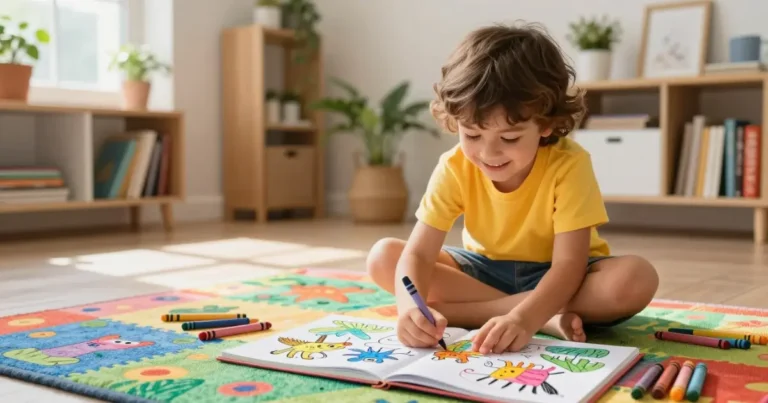
For many young children, a coloring book is their first introduction to art. It provides a safe, structured way to explore colors and practice fine motor skills. However, there often comes a transitional moment when a child stares at a completely blank piece of paper and feels paralyzed. They want to draw a dinosaur or a race car, but they freeze, claiming, “I don’t know how!” or “It won’t look right!”
Transitioning from coloring within the lines to creating something from scratch—freehand drawing—is a massive cognitive leap. It requires spatial awareness, memory, fine motor control, and, most importantly, confidence.
If your child is ready to spread their artistic wings but feels frustrated by the blank page, you do not need an art degree to help them. Here is your ultimate guide to teaching kids the basics of freehand drawing in a way that builds skill, eliminates frustration, and celebrates creativity.
Shift the Focus from “Perfect” to “Process”
Before you even pick up a pencil, the most crucial step is setting the right expectations. Young children often have a clear image in their minds of what they want to draw, and they become deeply frustrated when their hand cannot translate that mental image perfectly onto the paper.
As a parent, your job is to shift the focus away from the final product and onto the process of creating.
- Avoid saying, “Make it look exactly like the picture.”
- Instead, say, “Let’s see how many fun shapes we can use to build this.” Make it clear that art does not have to look like a photograph. Introduce them to the concept of different artistic styles—show them how Picasso painted faces or how Eric Carle illustrated animals. Teaching them that “mistakes” are just unique artistic choices is the foundation of freehand drawing.
Step 1: The Magic of Basic Shapes
The secret to drawing almost anything in the universe is breaking it down into basic geometric shapes. Children are taught to recognize circles, squares, triangles, and ovals very early on. You can use this existing knowledge to unlock their drawing potential.
Instead of trying to draw a complex object like a “dog” all at once, teach them to see the shapes hidden inside the dog:
- “What shape is the dog’s head? Yes, it is mostly a circle.”
- “What about the body? It looks like a long oval.”
- “And the ears? They look like little triangles pointing down.”
Have them lightly sketch these large building blocks first. Once the “skeleton” of shapes is on the paper, they can easily connect the lines and add details like fur, eyes, and a tail.
Step 2: Practice “Observational Drawing”
Children often draw what they think an object looks like, rather than what they actually see. For example, they might draw a house as a square with a triangle on top, even if the house they are looking at is a long rectangle with a flat roof.
To teach observational drawing, set up a simple still life on the kitchen table—perhaps an apple, a favorite toy, or a flower in a vase.
- Ask them to look closely at the object before drawing.
- Ask guiding questions: “Where is the shadow?” “Is the stem straight or curved?” “Which part is the widest?” This trains their brain to actively observe the world around them, a skill that is vital for accurate freehand art.
Step 3: Embrace the “Ugly Draft” (No Erasers Allowed!)
One of the biggest hurdles in freehand drawing is the endless cycle of drawing a line, hating it, erasing it, and eventually tearing the paper in frustration.
To break this cycle, introduce the concept of the “Ugly Draft” or the “Practice Sketch.” For these sessions, completely remove the erasers from the table. Better yet, have them draw with a pen or a marker.
When they know they cannot erase, they are forced to keep moving forward. If they make a line they do not like, teach them to turn it into something else—a stray line becomes a shadow, a wobbly circle becomes a textured rock. This builds incredible creative resilience and teaches them to adapt rather than quit.
Step 4: Use Guided Imagination Prompts
Sometimes the hardest part of freehand drawing is simply deciding what to draw. Instead of giving them a rigid assignment (“Draw a tree”), give them an imagination-sparking prompt that has no wrong answer.
Try prompts like:
- “Draw a house designed perfectly for a family of bugs.”
- “If you could invent a new vehicle that travels underwater and in space, what would it look like?”
- “Draw a monster, but make him look like he is very nervous about his first day of school.”
Because these subjects do not exist in the real world, there is zero pressure for them to look “realistic.” Your child’s imagination is in the driver’s seat.
Creating a Supportive Art Environment
Your home environment plays a huge role in fostering a love for drawing.
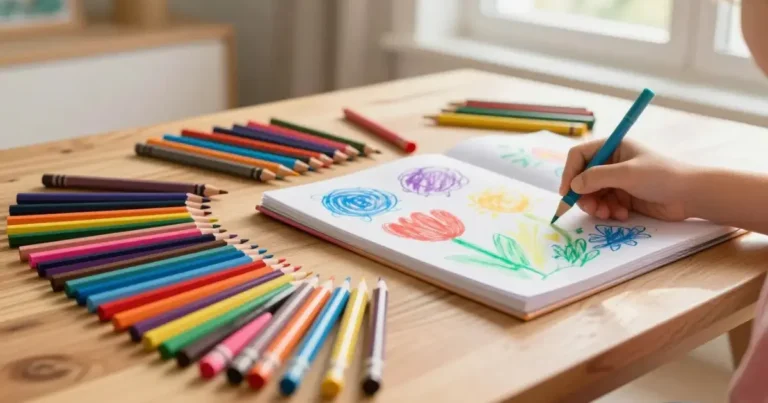
- Keep Supplies Accessible: Have a dedicated art cart or basket with blank paper, soft graphite pencils (which glide easier than hard pencils), and quality markers easily accessible to them at all times.
- Display the Process: Do not just hang up their “best” finished masterpieces on the fridge. Display their rough sketches, their shape practices, and their funny doodles. This shows them you value their effort and practice just as much as a polished result.
Frequently Asked Questions (FAQ)
At what age should kids start drawing recognizable things? Drawing develops in distinct stages. From ages 2 to 4, children are usually in the “scribbling stage,” where the physical movement is the goal. Around ages 4 to 7, they enter the “pre-schematic stage,” where they begin drawing recognizable shapes, like a circle with lines for a person (often called “tadpole people”). Do not rush them; let their motor skills develop naturally.
What if my child gets extremely frustrated and wants to give up? If the tears start flowing, it is time for a break. Validate their feelings by saying, “It is really frustrating when our hands won’t do what our brains want them to do. Let’s take a break and play outside.” Never force them to finish a drawing if it is causing distress.
Are step-by-step drawing tutorials good or bad? They can be a helpful bridge! Step-by-step tutorials (like “How to draw a cat in 5 steps”) can give a child a massive confidence boost because they usually end up with a successful drawing. However, they should not be the only way a child draws, as it relies on copying rather than creating. Use them occasionally to build confidence, but always encourage freehand exploration afterward.
The Bottom Line
Teaching your child to draw freehand is not about grooming the next great classical painter. It is about giving them a tool to express their unique inner world, process their emotions, and build problem-solving skills. By focusing on shapes, observation, and joyful mistakes, you will help them transform the intimidating blank page into a playground of endless possibilities.